

South Sam Houston Tollway - Outer Loop
| Texas Beltway 8 east | |||||||
|---|---|---|---|---|---|---|---|
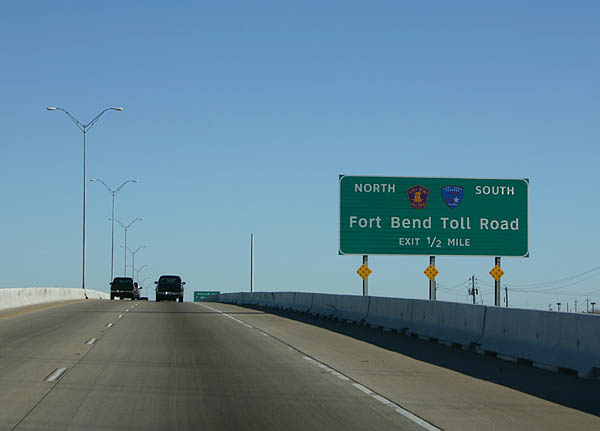
Advance signage for the Fort Bend Toll Road. Photo taken December 24, 2005.
| 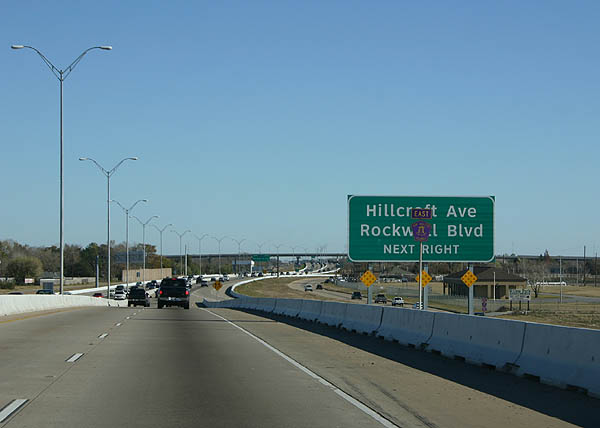
Use the Fort Bend Toll Road to reach Hillcroft Avenue and Rockwell Boulevard. Photo taken December 24, 2005.
| 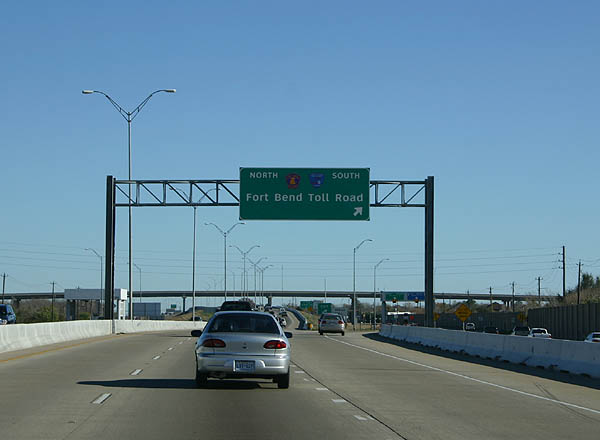
The Fort Bend Toll Road exits here. There are no direct connections between the Fort Bend Toll Road and Sam Houston Tollway. Photo taken December 24, 2005.
| 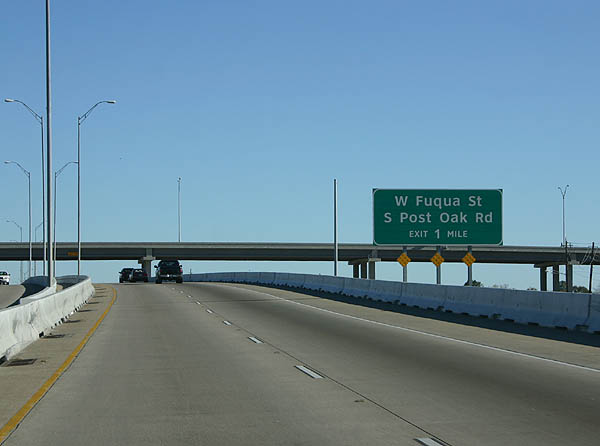
Advance signage for South Post Oak Road and West Fuqua Street. Photo taken December 24, 2005.
| | |||

The right lane exits to West Fuqua Street and South Post Oak Road. Photo taken December 24, 2005.
| 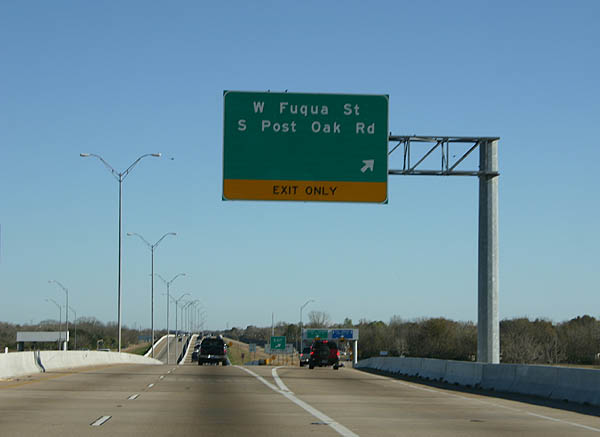
West Fuqua Street and South Post Oak Road exit here. Beltway 8 is paralleling the Harris County line, to remain within Harris County. Photo taken December 24, 2005.
| 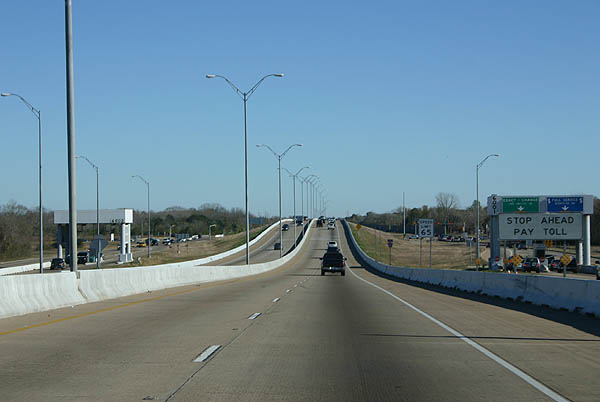
Sam Houston Tollway is four lanes at this point, along the south side of Houston. Photo taken December 24, 2005.
| 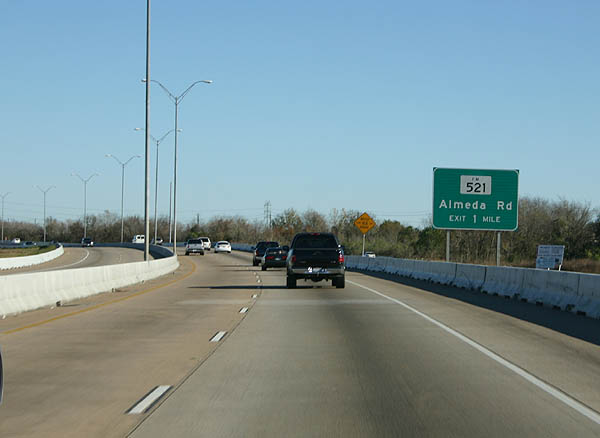
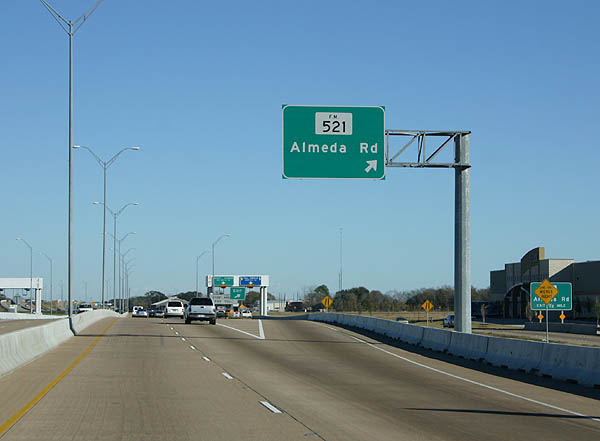
Advance signage for FM 521, Almeda Road. Photo taken December 24, 2005.
| 
FM 521 exits here. FM 521 is former SH 288, bypassed with construction of the SH 288 freeway. Photo taken December 24, 2005.
| 
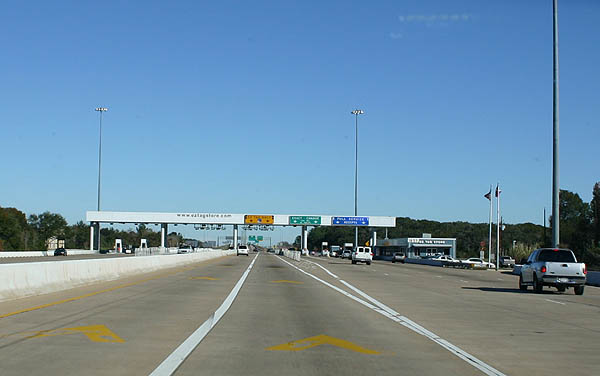
The next toll plaza has two EZ Tag lanes and four cash lanes. Photo taken December 24, 2005.
| 
The southwest Toll Plaza also has an attached EZ Tag store. Photo taken December 24, 2005.
| 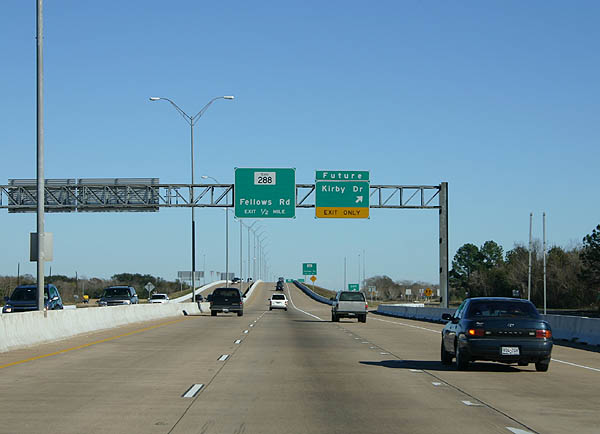
Future Kirby Drive exits here. While the exit is built, it only serves the frontage road at this time. Photo taken December 24, 2005.
| 
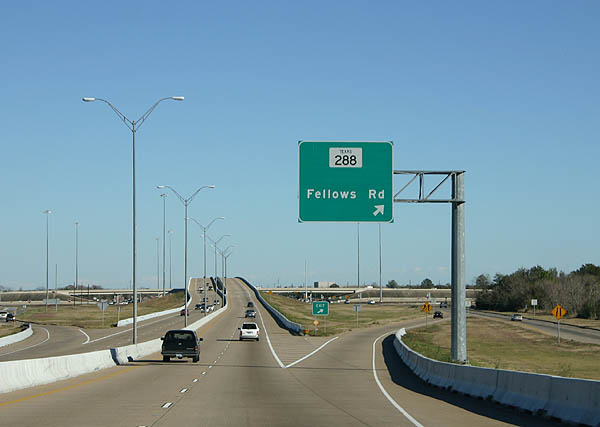
Advance signage for SH 288 and Fellows Road. Photo taken December 24, 2005.
| 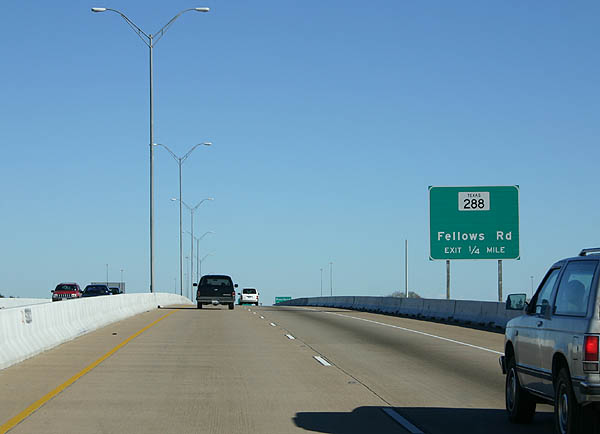
SH 288 and Fellows Road exit here. The interchange with SH 288 is a three level interchange with only frontage road connections. Photo taken December 24, 2005.
| 
The Sam Houston Tollway continues as a four lane road all the way to IH 10. Photo taken December 24, 2005.
| 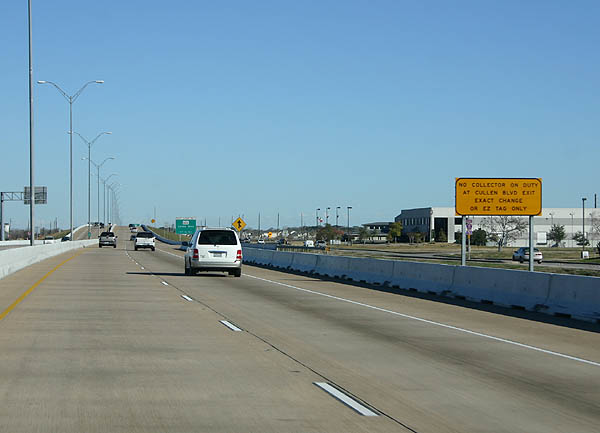
This sign warns that the Cullen Boulevard. exit is exact change or EZ Tag only. Photo taken December 24, 2005.
| 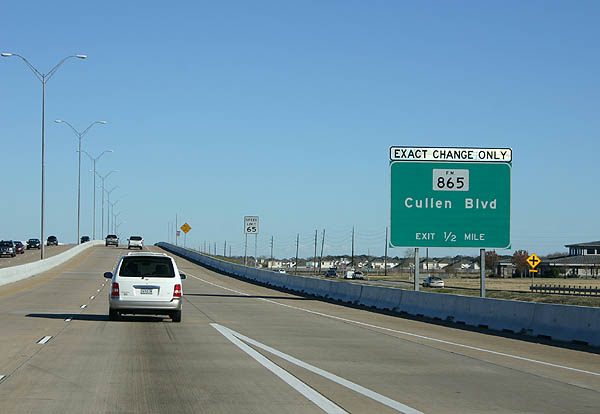
Advance signage for FM 865, Cullen Boulevard. Photo taken December 24, 2005.
| 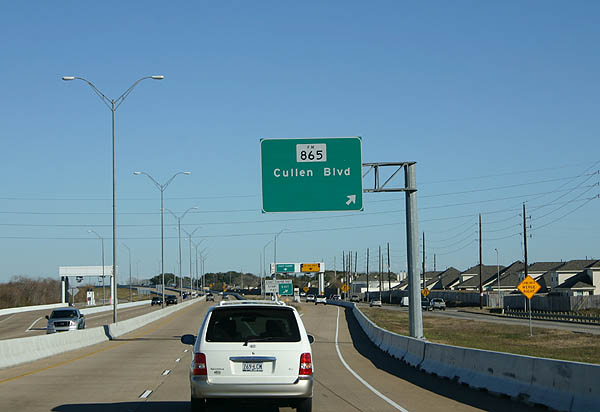
FM (UR) 865 travels south to FM (UR) 518 in Brazoria County. Photo taken December 24, 2005.
| 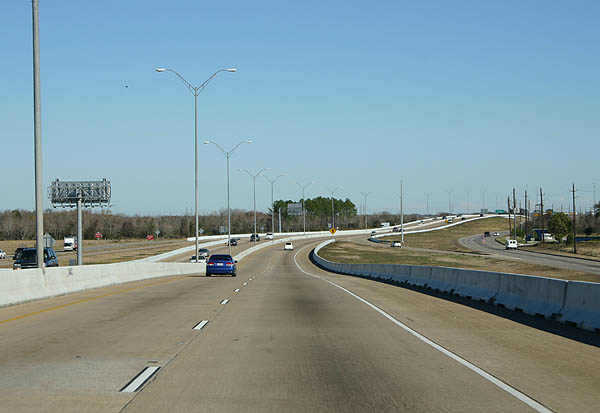
The Sam Houston Tollway continues as a four lane road all the way to IH 10. Photo taken December 24, 2005.
| 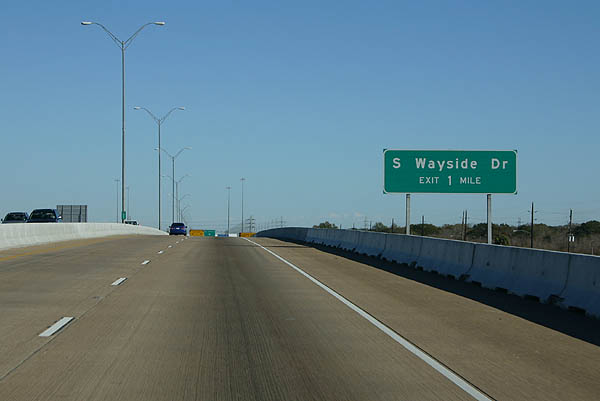
Advance signage for South Wayside Drive. Photo taken December 24, 2005.
| 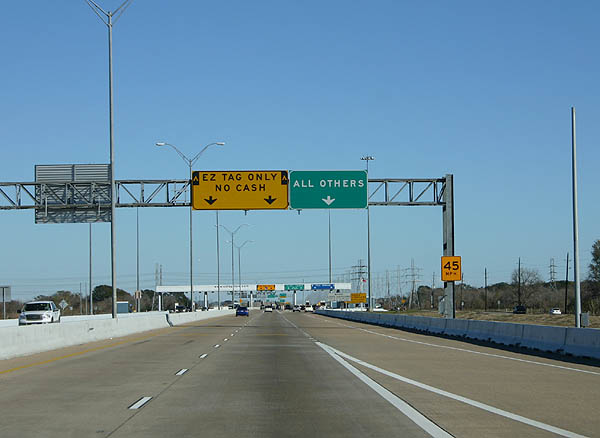
Prior to reaching South Wayside Drive, motorists encounter the south central toll plaza. Photo taken December 24, 2005.
| 
The south central toll plaza has two EZ Tag lanes, two exact change lanes, and two full service lanes. Photo taken December 24, 2005.
| 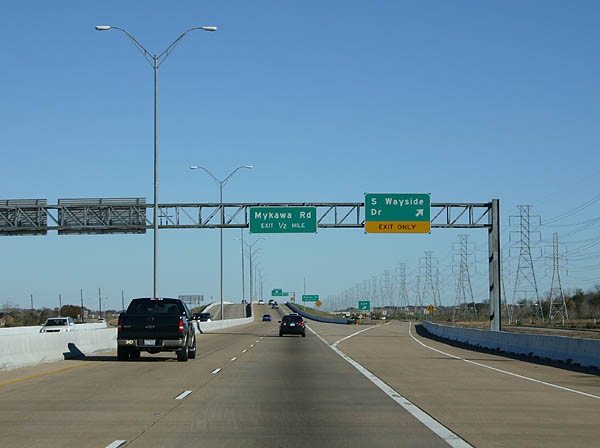
South Wayside Drive exits here. The next exit is Mykawa Road. Photo taken December 24, 2005.
| 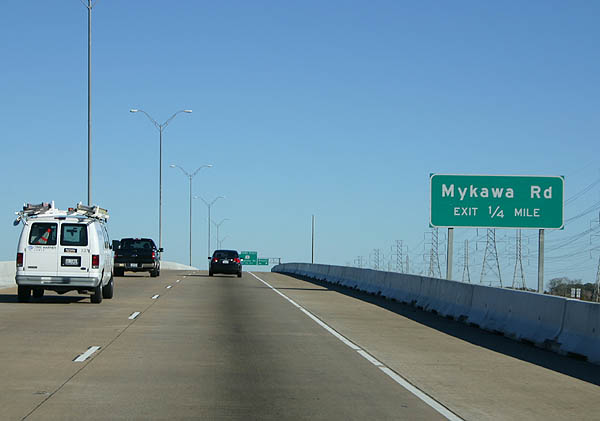
Advance signage for Mykawa Road. Photo taken December 24, 2005.
| 
Mykawa Road exits here. The next exit is SH 35, Telephone Road. Photo taken December 24, 2005.
| 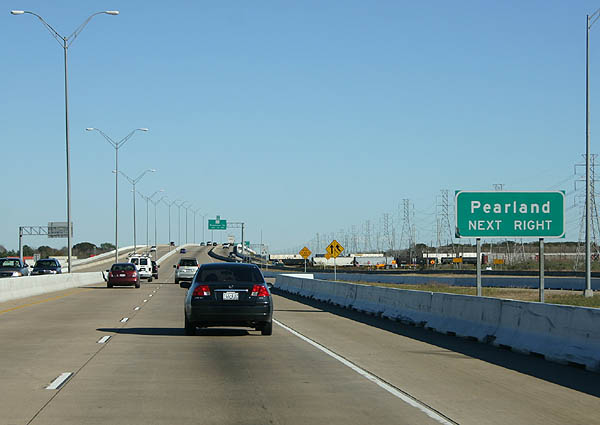
Use SH 35 to reach Pearland. Photo taken December 24, 2005.
| 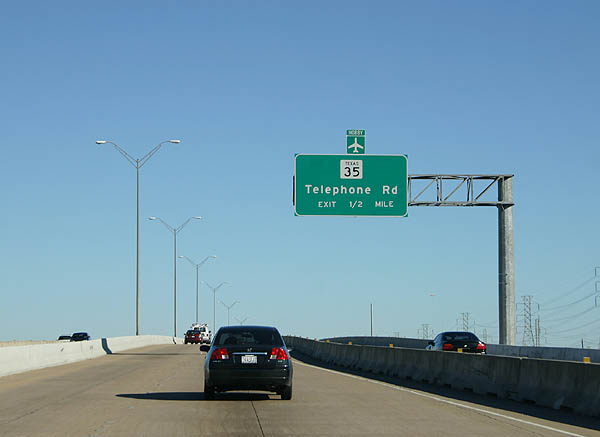
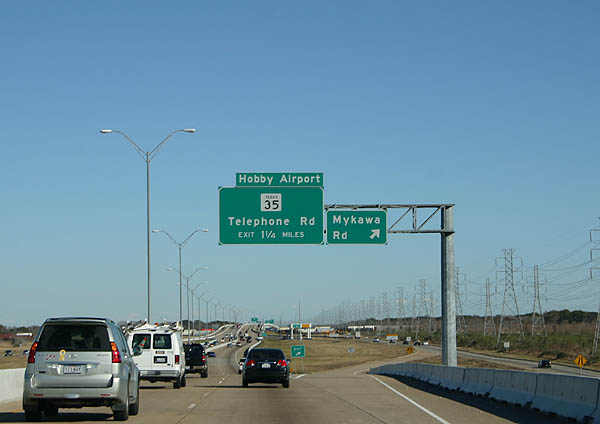
Advance signage for SH 35. Use SH 35 to reach Hobby Airport. Photo taken December 24, 2005.
| 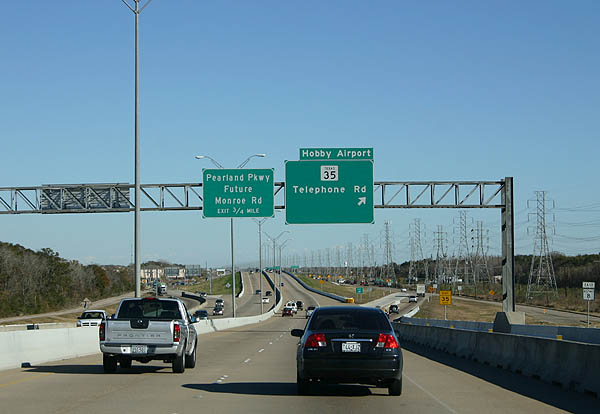
SH 35, Telephone Road exits here. The next exit is for Pearland Parkway. Photo taken December 24, 2005.
| 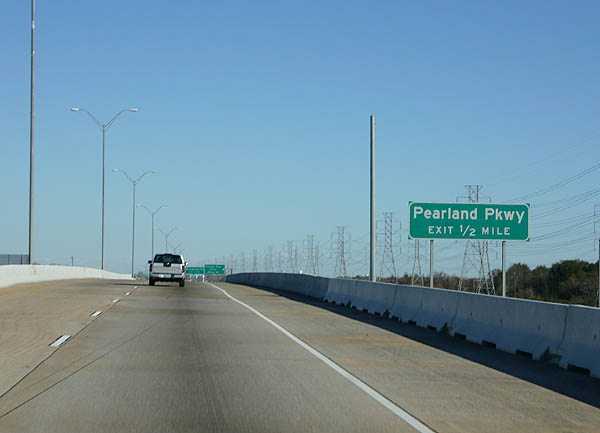
Advance signage for Pearland Parkway. Photo taken December 24, 2005.
| 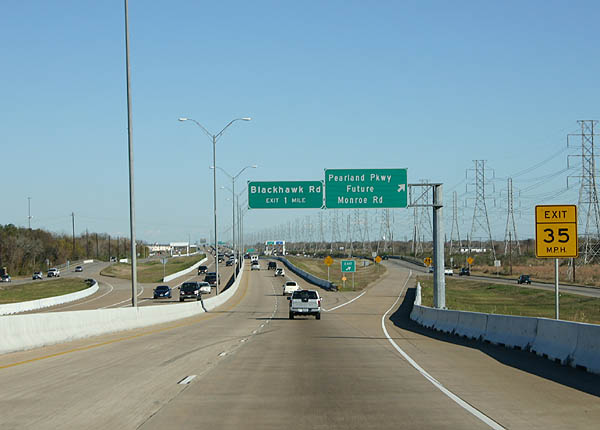
Pearland Parkway and future Monroe Road exit here. The next exit serves Blackhawk Road. Photo taken December 24, 2005.
| 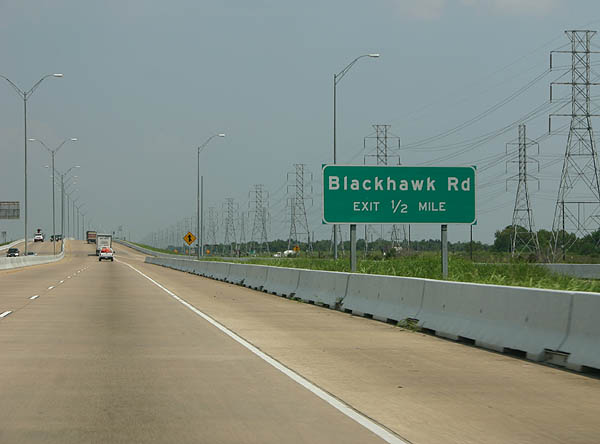
Advance signage for Blackhawk Road. Photo taken September 7, 2006.
| 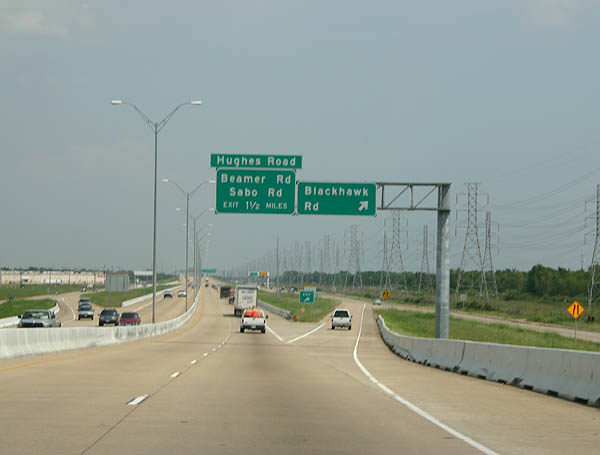
Blackhawk Road exits here. The next exit serves Beamer Road, Sabo Road and Hughes Road. Photo taken September 7, 2006.
| 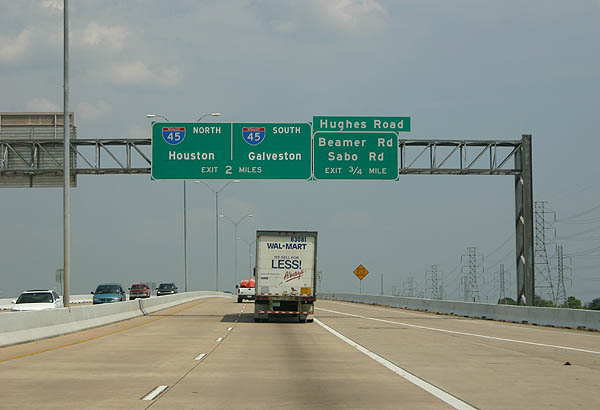
Advance signage for Beamer Road, Sabo Road and Hughes Road. Photo taken September 7, 2006.
| 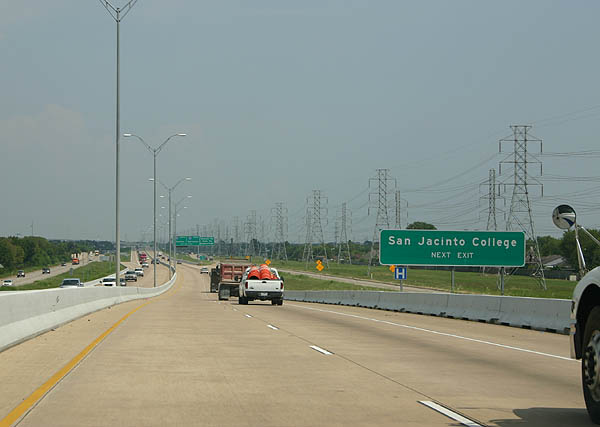
Use the next exit to reach San Jacinto College. Photo taken September 7, 2006.
| 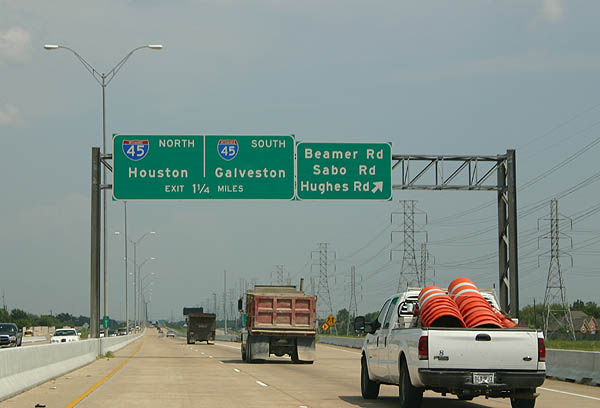
Beamer Road, Sabo Road, and Hughes Road exit here. Photo taken September 7, 2006.
| 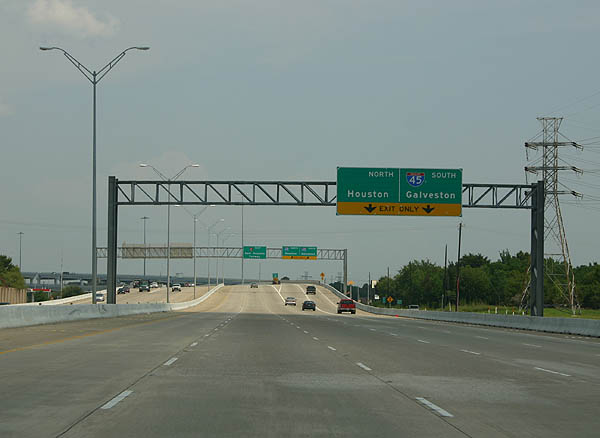
The next exit serves IH 45. Photo taken September 7, 2006.
| 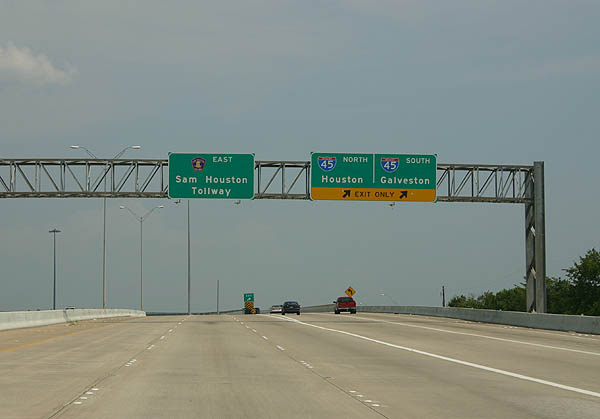
IH 45 departs here in a graceful five level stack. Photo taken September 7, 2006.
| |


Page Updated October 28, 2006.
|
About Contact FAQ |
Spotlights Interstate Guide |
Social Media:
 |
|
© 2000-25 AARoads.com | All Rights Reserved | Privacy Policy / Terms of Use
|
||